How To Create White Instagram Borders In 4 Steps
Here’s an example of how one of my favorite film photographers, Joe Greer (@ioegreer), uses borders to create a clean aesthetic.
why add white borders to your instagram photos?
If you’re using Instagram as another means to develop a portfolio, adding white borders to your photos can help tidy up your gallery and add symmetry. The white backdrop also highlights the photos more, similar to an art gallery or more traditional portfolio. It’s certainly a personal preference, but the style is something I’ve come to love.
In this blog post, I’ll explain an easy way to add white borders to your photos in just four quick steps.
but first, what tool is best for adding borders?
While it looks simple on the surface, it can be a challenge to find a reliable tool or technique for adding borders. There are several apps out there with options to apply different borders, but I don’t find them to be very seamless or allow for complete control of dimensions. I also like to avoid sacrificing any quality if at all possible, which can be difficult when exporting from an app.
After a little research and several text messages with my designer friends, I finally found the solution. When done right, applying borders via Photoshop (where borders are referred to as a ‘Canvas’) is far and away the best option. And once you know where to find the tool and what specs you prefer, it’s really quite simple (and that’s coming from someone who only uses Lightroom). Best of all, you have complete control over the dimensions and you won’t sacrifice any quality when exporting.
a step-by-step guide to applying white borders to your photos via Photoshop
step 1
Open Photoshop and upload your photo.
step 2
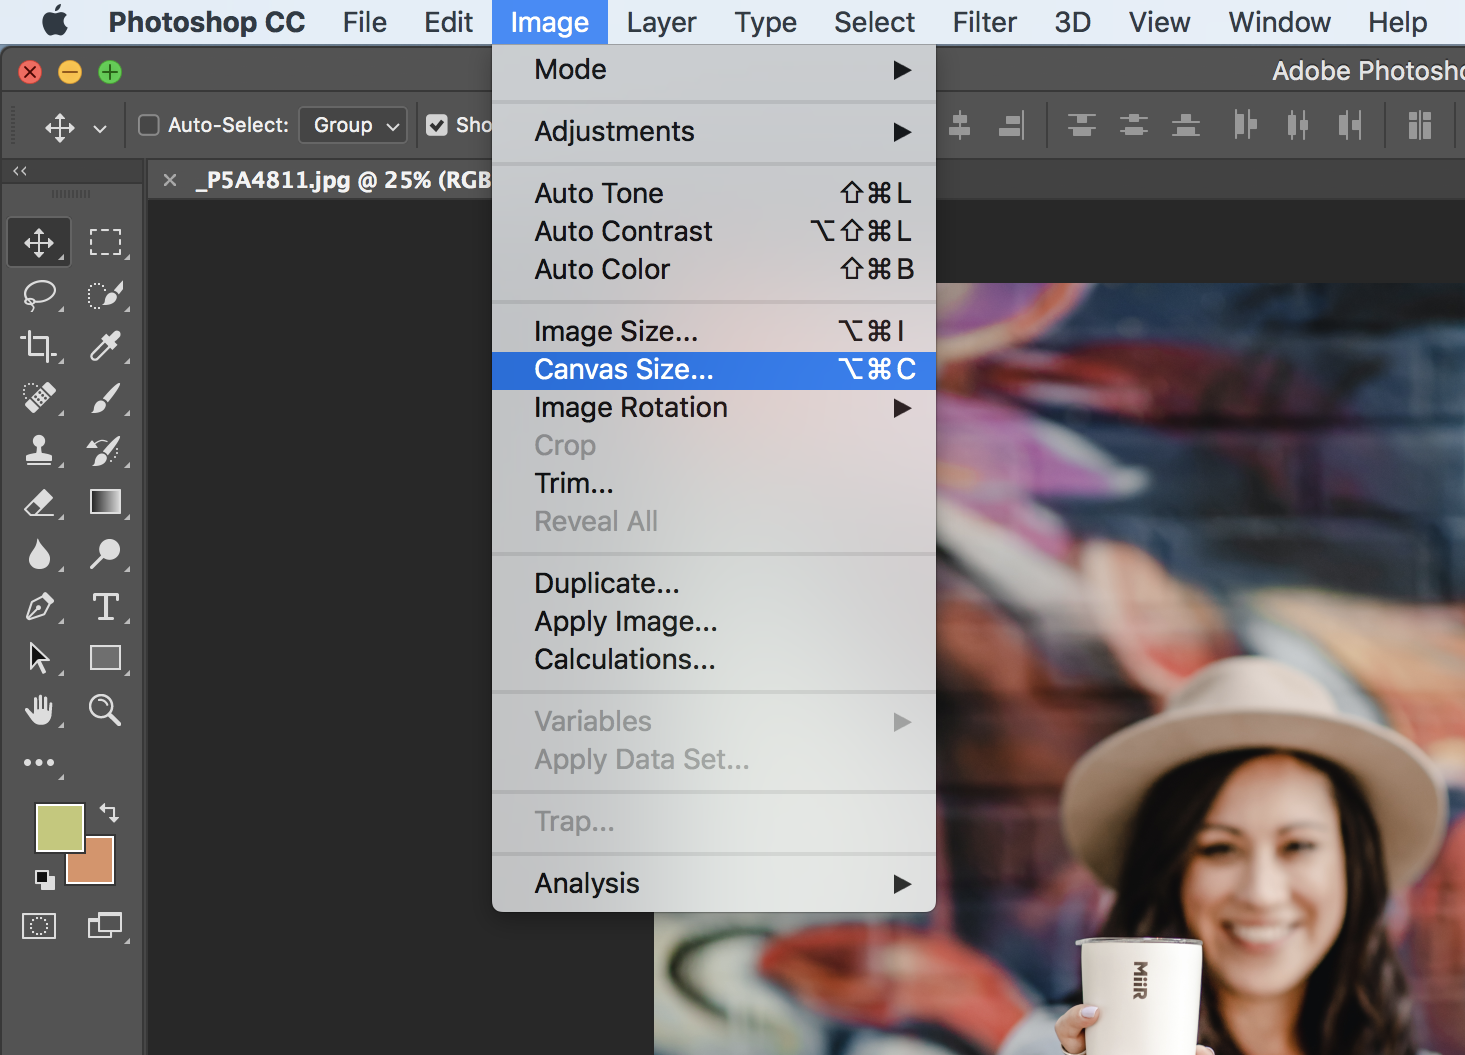
Select ‘Image’ in the top navigation and choose ‘Canvas Size’.
step 3 *most important step*
In the ‘Canvas Size’ window you’ll want to adjust the sizing based on ‘percentage’ not ‘inches’. You can change the sizing option for width and height to ‘percentage’ by selecting the dropdown menu.
step 4
Now you can apply your preferred canvas (aka white border) sizing. My preferred sizing for 4x5 vertical photos is 140 width and 112 height. For my 4x5 horizontal photos, I simply reverse those sizes to 112 width and 140 height.
I like this sizing because it creates a nice visual consistency for both vertical and horizontal photos. For vertical photos specifically, it allows for spacing on top and bottom of the photo when in gallery view, which I prefer. This sizing just creates nice spacing overall within the gallery.
That’s it! Now just export your image from Photoshop and you’re good to go!
experiment
This sizing is the look I’ve come to love, but there’s no right or wrong way of doing it. Play around with the ‘Percentage’ sizing to find the look you’re going for. The width and height dimensions I provided should at least provide a good starting point to work with.


